Whether you're climbing indoors, sport climbing, or out on a multi-pitch route, belaying is just as important as climbing itself. Your belay device — that little piece of metal connecting the belayer to the climber — plays a key role in everyone's safety.
There are 3 types of belay devices, each with its own pros, cons, and quirks :
- 1- Classic (or “Tube-Style”) Belay Devices
- 2- Assisted-Braking Devices
- 3- The Munter Hitch (Half Clove Hitch)
In this article, we walk you through the three main families of belay devices, so you can understand how they work and pick the one best suited to your style. Whether you’re new to climbing or a seasoned pro, a quick refresher never hurts.
The 3 Main Types of Belay Devices
1. Classic (or “Tube-Style”) Belay Devices
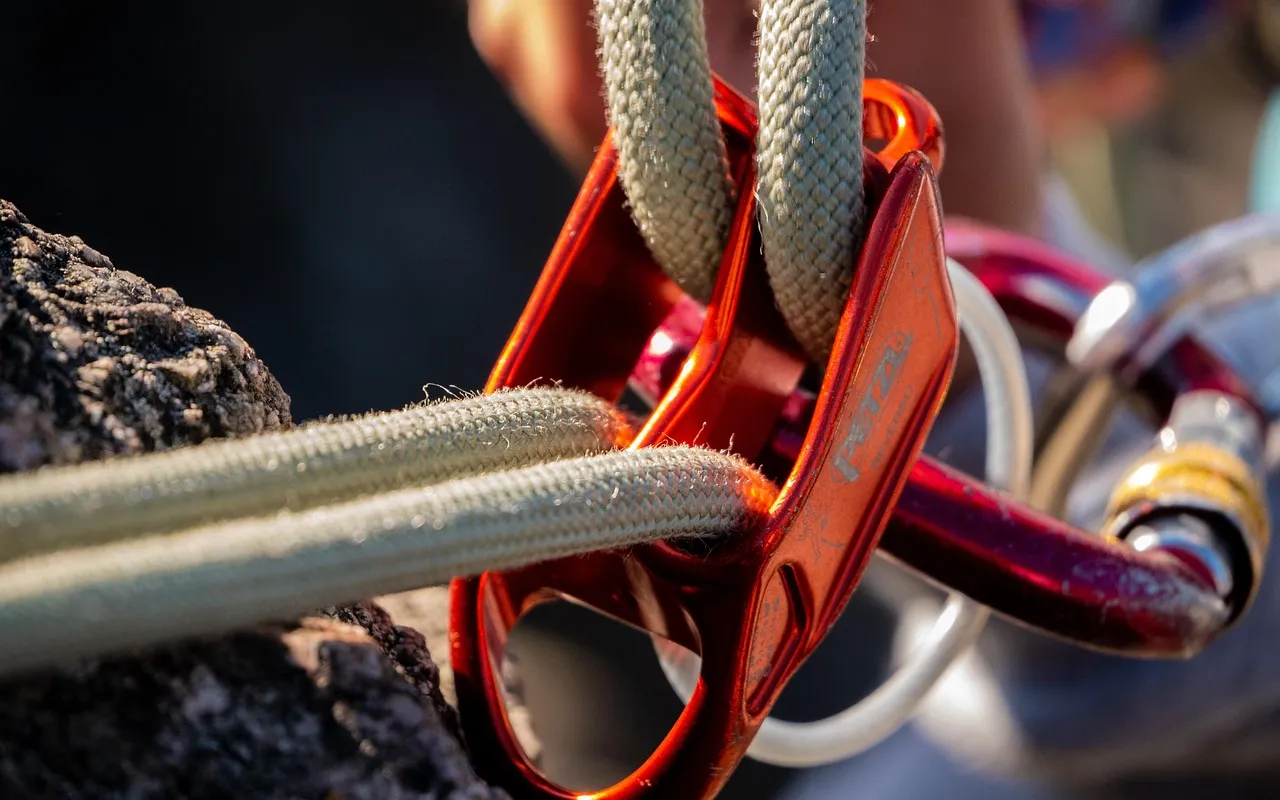
These are the most common — you’ll see them at the gym, on sport routes, and in multi-pitch climbs. They’re lightweight and versatile but don’t have assisted braking. Most models can be used with single ropes (for indoor or sport climbing), and some also work with double ropes, which are typically used in multi-pitch routes. Classic devices let you belay a leader or second and rappel.
One of the most popular models in France is Petzl’s Reverso, which gets its name from its ability to belay both a leader and a second.
Popular classic devices:
- Reverso (Petzl)
- Tubik (Simond)
- ATC Guide (Black Diamond)
- Smart 2.0 (Mammut)
- Be-Up (Climbing Technology)
2. Assisted-Braking Devices
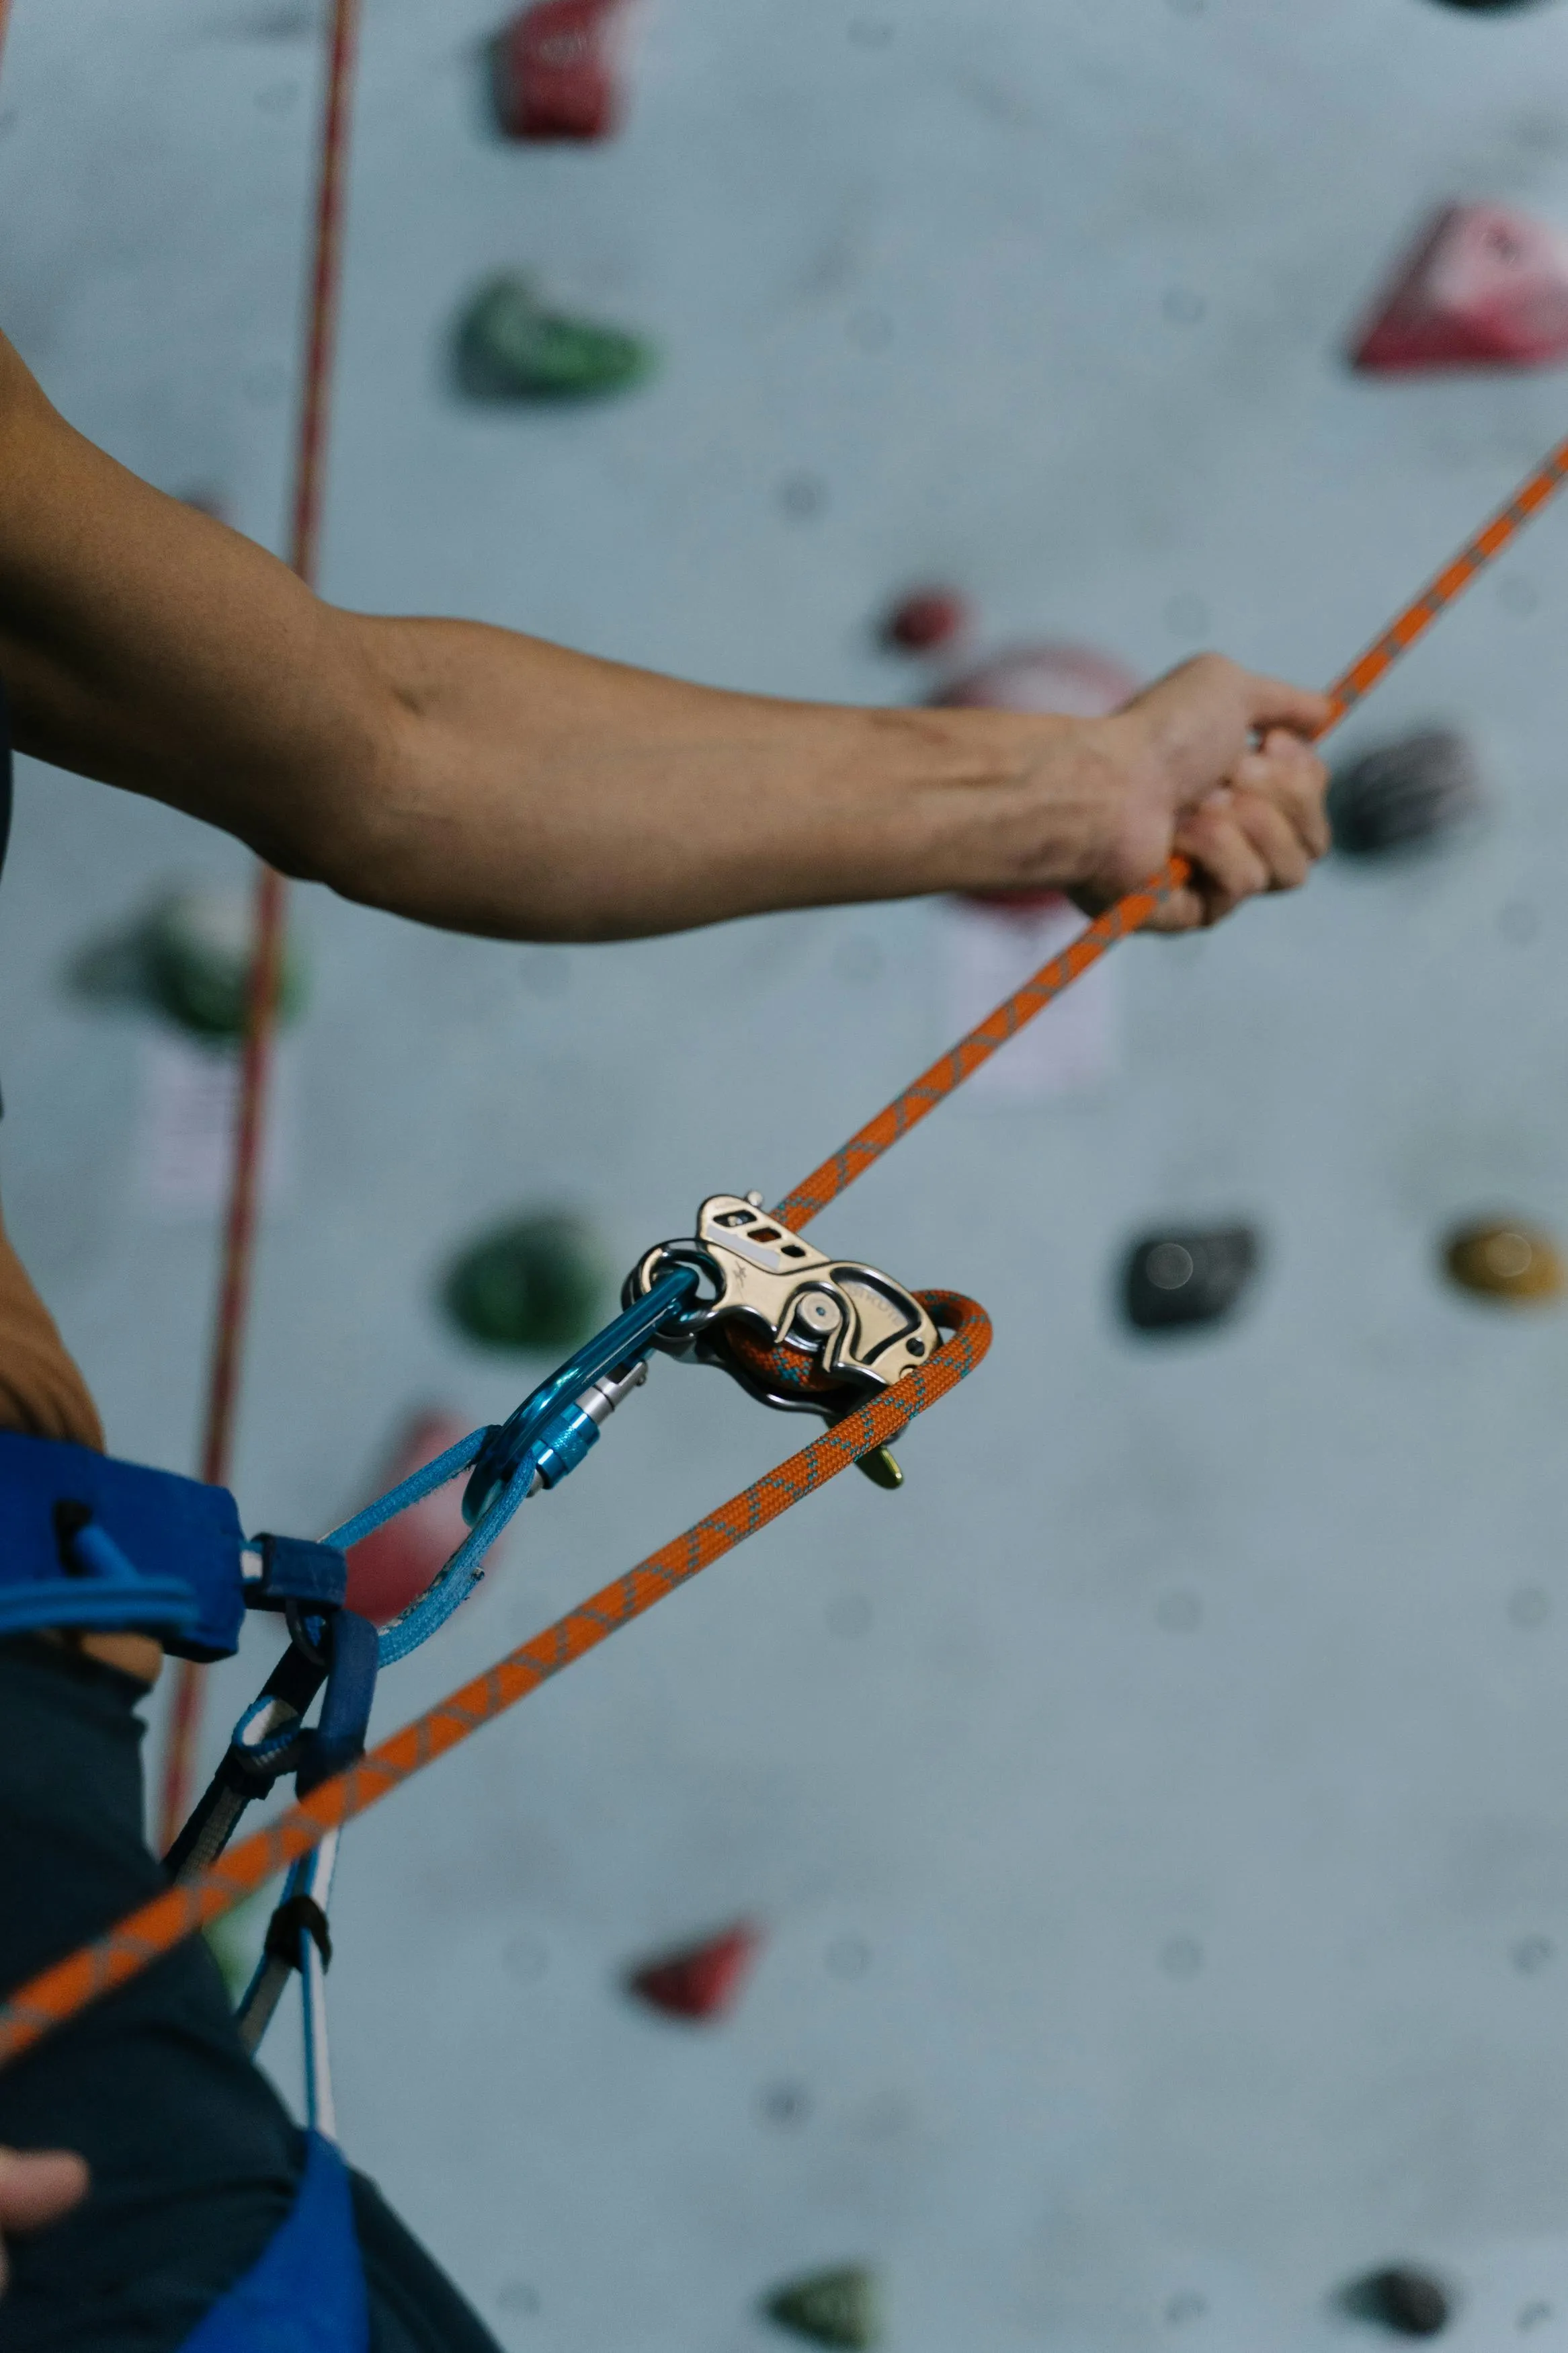
These make belaying a bit more comfortable, especially during falls or when a climber is projecting and hanging on the rope for a while. They generally work with single ropes and tend to be a little bulkier and less versatile than classic devices. Even though they offer braking assistance, they still require full attention from the belayer.
Popular assisted-braking devices:
- Grigri (Petzl)
- Revo (Wild Country)
- Birdie (Beal)
- Pinch (Edelrid)
3. The Munter Hitch (Half Clove Hitch)
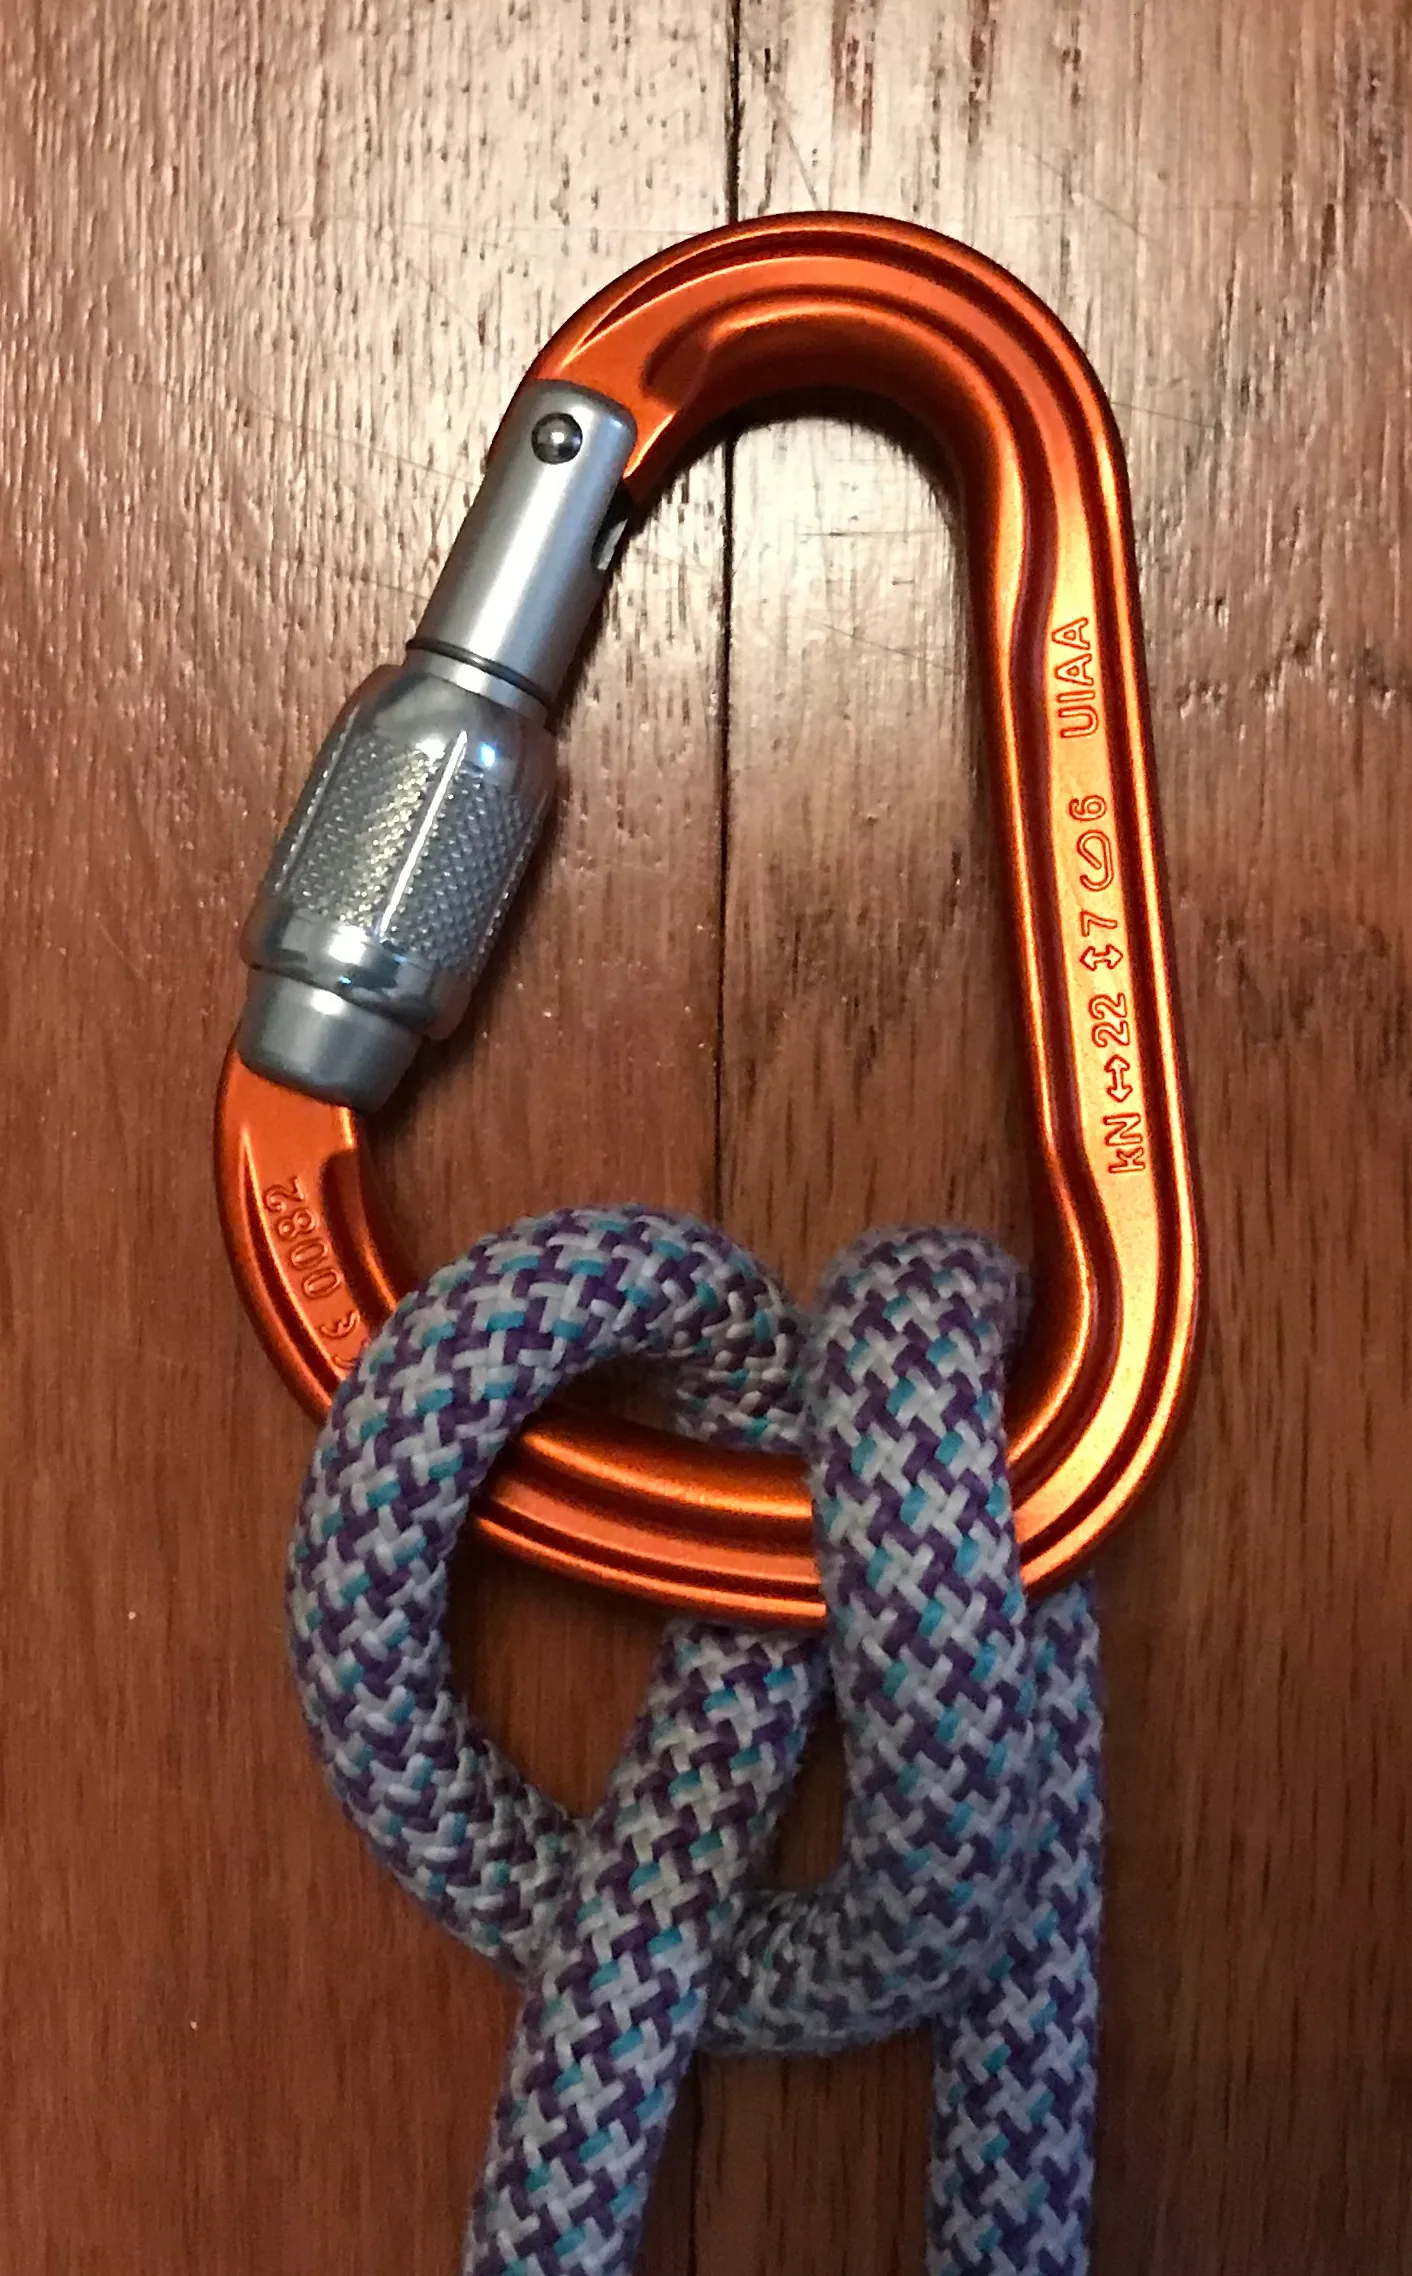
Along with the figure-eight and clove hitch, the Munter hitch is one of the first knots you learn when starting out. You can use it to belay a climber with just a carabiner. It’s often used in alpine climbing or as a backup if you lose your device (not ideal, but it happens). You’ll need an HMS carabiner — just keep in mind that this knot can twist your rope.
Need help tying a Munter hitch? Check out this Montagne Mag article for a step-by-step guide.
Understand the Risks Before You Pick a Device
Unless you're exclusively into bouldering (which is a bold lifestyle choice — but hey, no judgment), you've definitely used a belay system. These little metal gadgets — some simple, some more complex — are fundamental to climbing, as long as you use them properly.
But before we go any further: no belay device can guarantee total safety. Misuse, lack of focus, gear wear... a lot can go wrong and lead to serious accidents, whether you're climbing at the gym or on a big wall. There are countless incidents caused by belaying mistakes or improper handling.
That’s why belaying (and rappelling) requires your full attention. Always check the manufacturer’s website to learn exactly how your device works. Be aware of things like weight differences between climber and belayer, gear setup (watch out for ground falls), and the wear and tear on your device.
In short: stay sharp. Always.
Just because you’re experienced or climb often doesn’t give you a free pass to zone out while belaying (yeah, we had to sneak in a pun).
To help you better understand how these devices work — and figure out which one suits you best — here’s a breakdown of the three main types of belay systems, courtesy of Whympr.
Safety First — Always
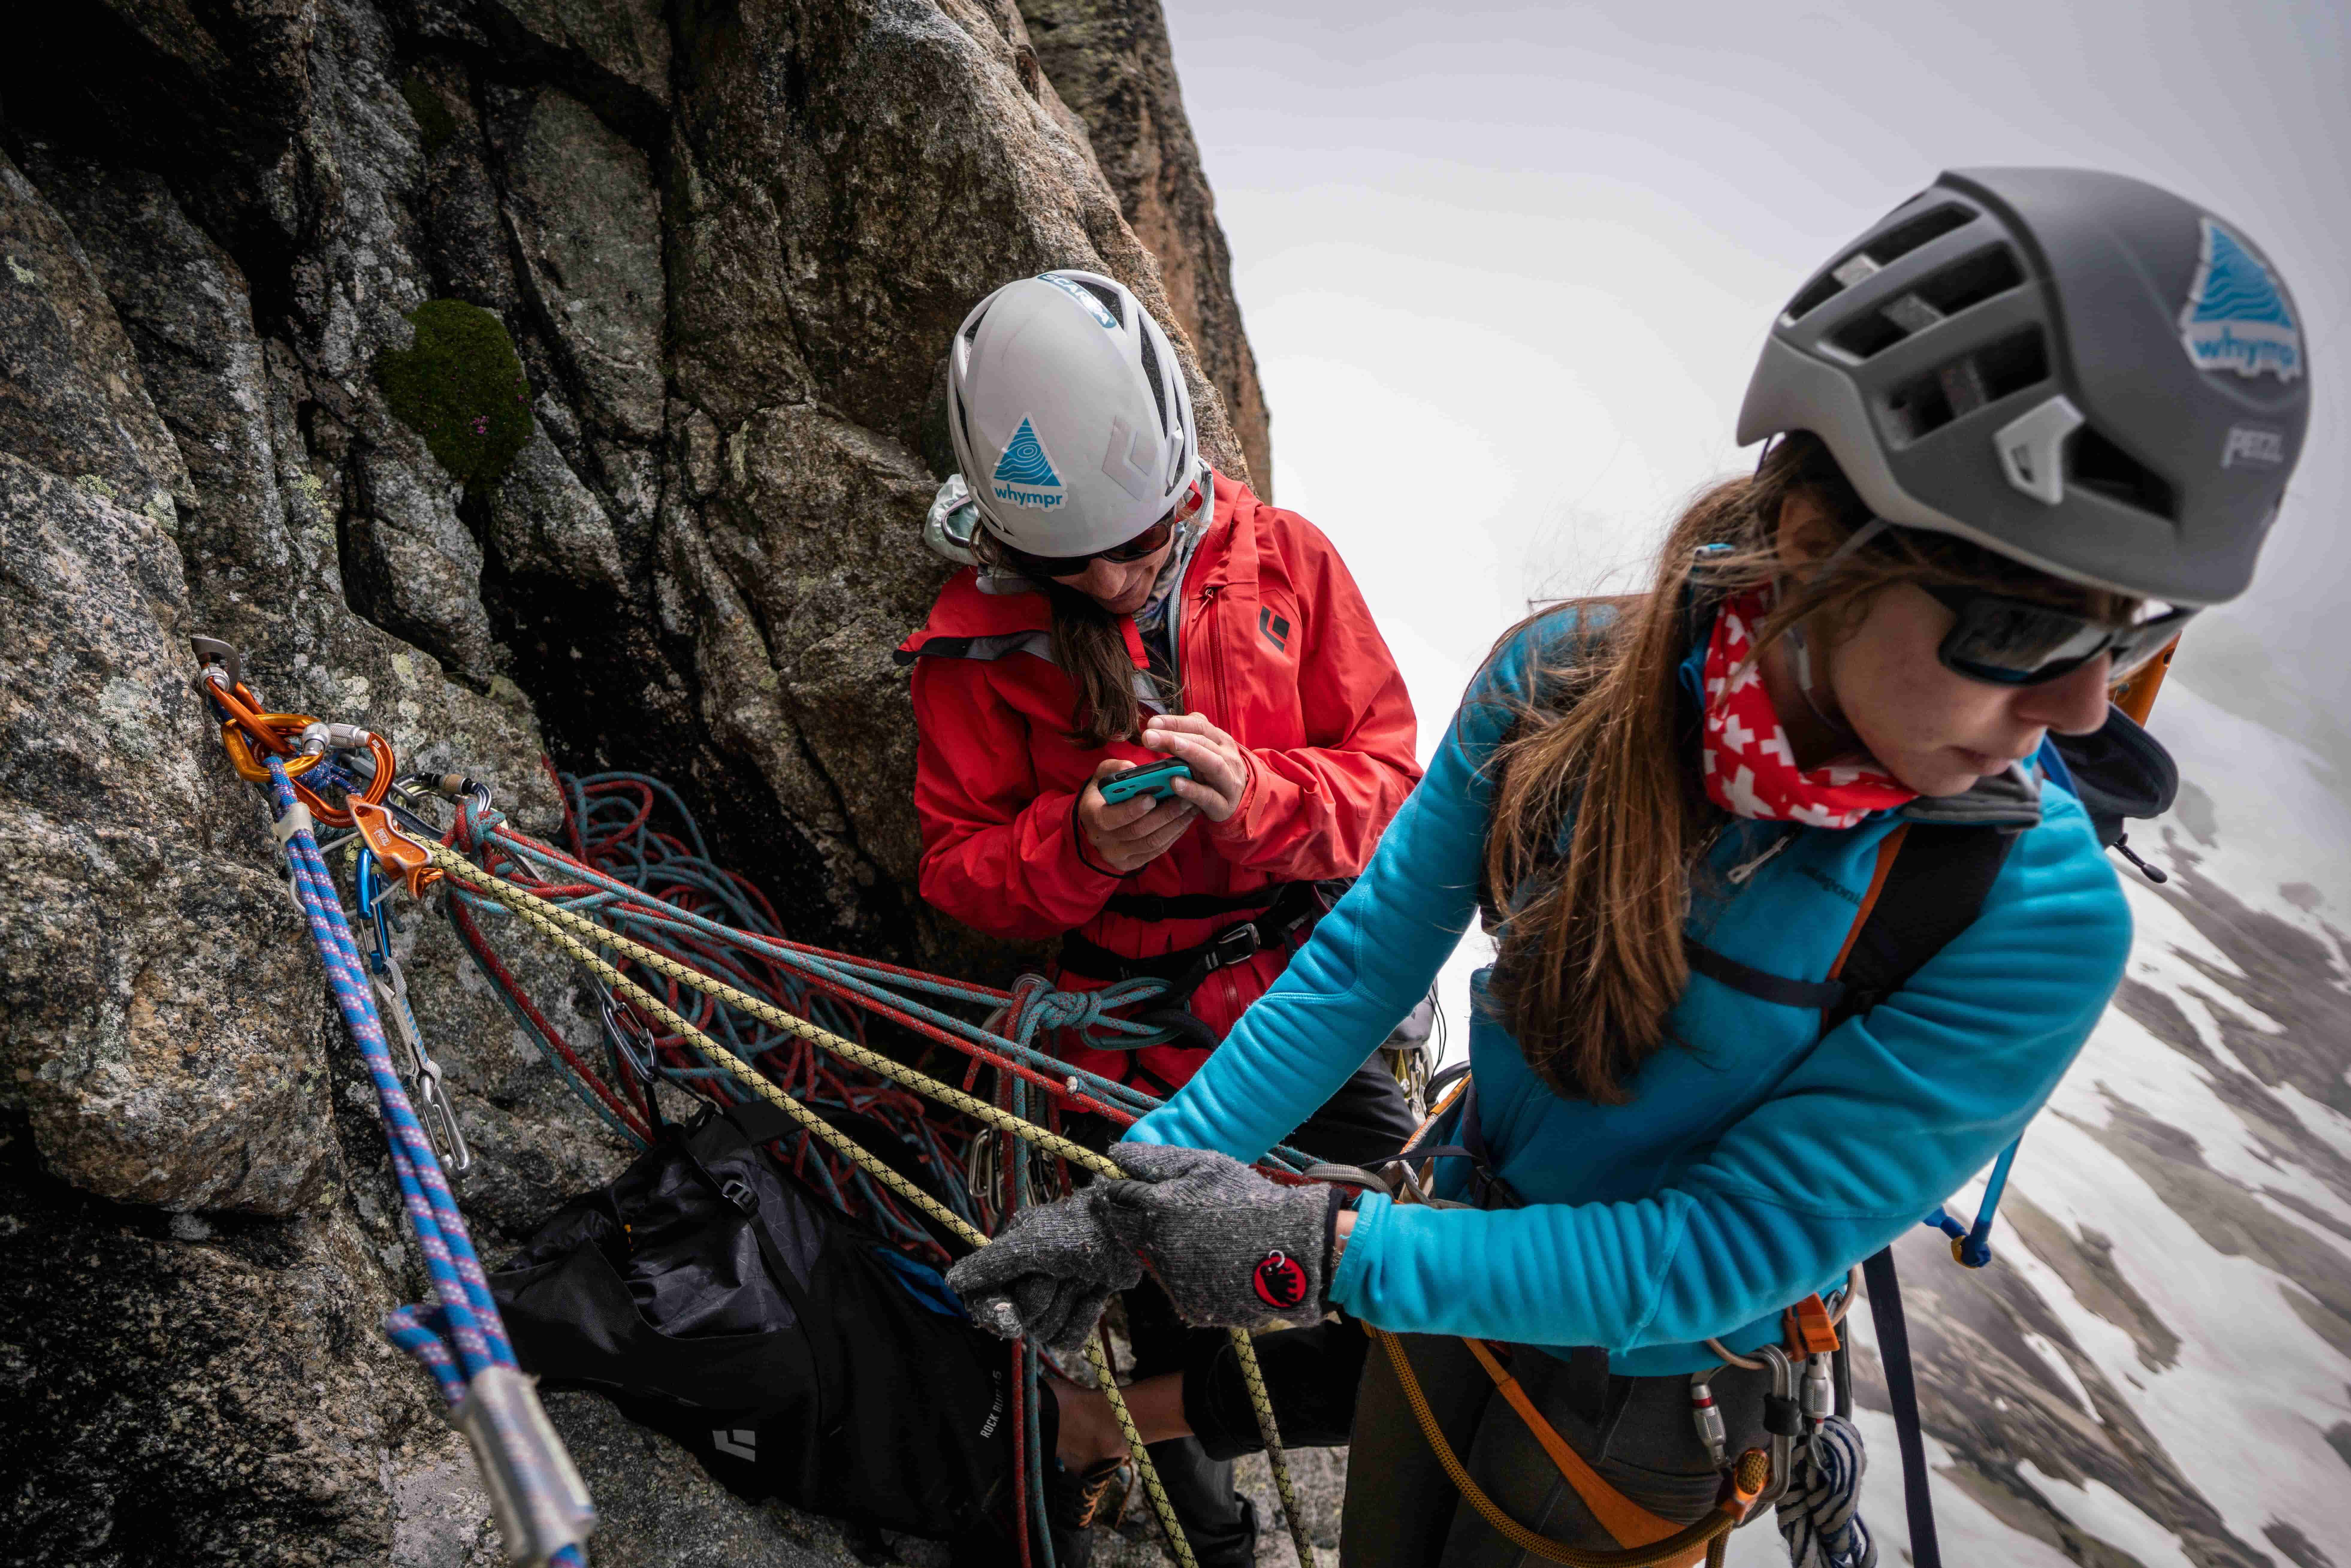
Belaying, like climbing, is something you learn. But remember: your partner’s life is in your hands. Mistakes can be serious. The best way to get started is to take a course at your local gym or outdoors with a certified instructor (guide, climbing coach, etc.).
Many climbing gyms offer intro classes and belay workshops. You can also check with clubs and associations near you. Trust between climber and belayer is key. Always double-check your setup — belay device and knot — before starting a route.
It’s also best to avoid buying second-hand belay devices. Wear and tear, even tiny invisible cracks, can make gear unsafe.
Belay devices are considered PPE (Personal Protective Equipment) and must meet strict safety standards. Check yours regularly and retire it at the first sign of damage.

Pro Tip: If there's a big weight difference between climber and belayer, check out the Ohm II by Edelrid. It clips into the first bolt and helps reduce the impact on the belayer in case of a fall.
TL;DR: Choose Smart, Belay Better, Climb with Confidence
Knowing your belay devices isn’t just a formality — it’s key to keeping your climbing team safe. By understanding how they work, their limits, and how to maintain them, you become a more independent and confident climber.
And for all your topo needs, take Whympr with you. Whether you're on a single pitch, a big wall, or scoping out a new spot this summer, the app has the tools and topos to guide your day.
So gear up, stay focused — and enjoy the climb!